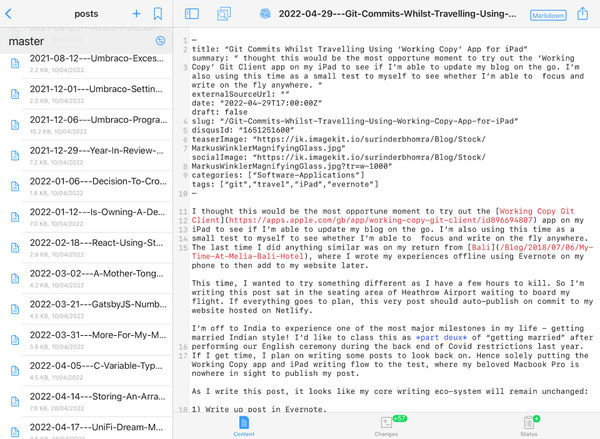
NOTE: This post began as a demonstration of how quickly I can create and publish blog entries on the go using Working Copy Git Client on my iPad while in India. I got 90% of the way through this post, but I didn't have time to finish it, utterly defeating the point of the post. Anyway, without further ado…
I thought this would be the most opportune moment to try out the Working Copy Git Client app on my iPad to see if I’m able to update my blog on the go. I’m also using this time as a small test to myself to see whether I’m able to focus and write on the fly anywhere. The last time I did anything similar was on my return from Bali, where I wrote my experiences offline using Evernote on my phone to then add to my website later.
This time, I wanted to try something different as I have a few hours to kill. So I'm writing this post sitting in the seating area of Heathrow Airport waiting to board my flight. If everything goes to plan, this very post should auto-publish on commit to my website hosted on Netlify.
I’m off to India to experience one of the most major milestones in my life - getting married Indian style! I’d like to class this as part deux of “getting married” after performing our English ceremony during the back end of Covid restrictions last year. So this seems a great time to put the Working Copy app and my iPad writing flow to the test, where my beloved Macbook Pro is nowhere in sight to aid the publishing of this post.
As I write this post, it looks like my core writing eco-system will remain unchanged:
- Write up the post in Evernote.
- Spelling, phrasing and grammar check using Quillbot (previously Grammarly).
- Add post in markdown format to my Gatsby website project.
- Commit website updates.
The true test will come when I write a post that contains more than a handful of images. It's something that doesn't happen very often - only when it comes to holidays. But I can see cropping, compressing and positioning images for a blog post on an iPad a little fiddly, especially on an 10 inch iPad Air.
So how does Working Copy fair in my very first piece of "on-the-go" writing?
Initial Setup
Getting up and running couldn't have been easier. After installation, I logged into my Bitbucket account and cloned my website repo, I was ready to go. For a site housing approximately 294 posts, it has a relatively small footprint (images are included): 54MB. I am so glad I decided to make the switch to GatsbyJS static-site generation and move away from the traditional server-side application connected to a database.
Everything you'd expect from a git client is present, such as:
- Clone
- Pull
- Push
- Fetch
- Merge
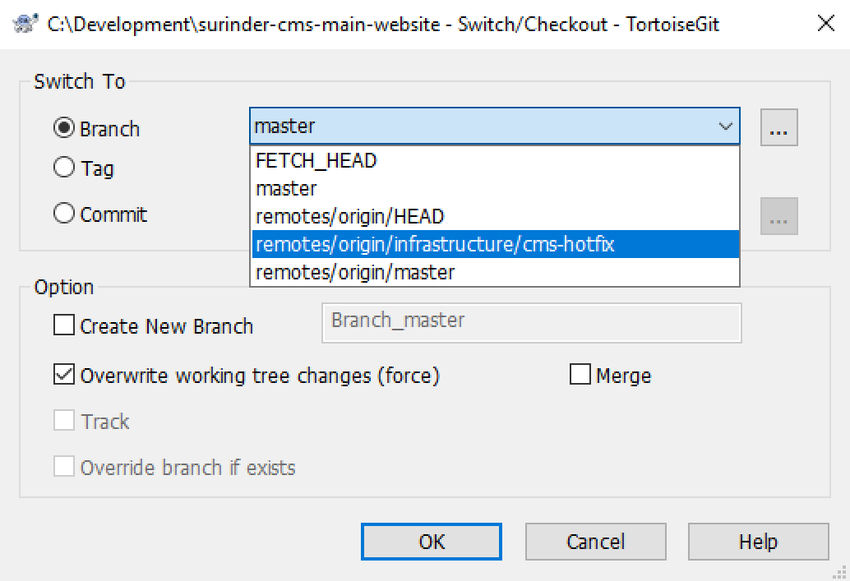
- Branch Creation
Editor
The editor is as I would expect it to be. Simple, clear and concise with basic syntax highlight, which is something that I would expect from an app built for a tablet device. If you think this can be a replacement for your traditional coding IDE, you'd be mistaken. Anyway, why would you want to do full-on coding on a tablet device?

I like how easily navigable the interface is. There is little to no learning curve when using it for the first time.
Native Integration with iOS Files
Now, this is where I feel I'm familiar territory. Being able to drag and drop files, such as images and text files from iOS’s Files layer into my Git repo - just like if I was working on a laptop. I’ve also seen other users write their posts outside using iA Writer or Pretext editor apps before dropping the text file into their repo.
Working with Images
I've never found working with image manipulation on the iPad that easy, hence why I like to use my Macbook Pro for the final finessing of my post before publishing. I have the tools I need to resize and compress images. Most photo app's on the iPad solely pull in images housed in Apple Photos. Even though I have an iPad and Macbook Pro, I don't like being locked into a single eco-system, especially when the majority of apps work well across different platforms.
Image Size is a free app that allowed me to crop and resize photos stored in iOS Files by simply stating the dimensions I require. Added bonus: The app is free!
Once the image is resized, I can carry out compression using TinyPNG and lastly simply perform a drag and drop into the Working Copy app.
Conclusion
I always wanted to have the ability to update my website on the go on a tablet device and Working Copy makes this very easy. When you add the iOS File System and Image Size app, you have everything for your writing needs.
I never thought that I'd be comfortable publishing posts directly to my website from an iPad. Overall, I found the writing experience to be very efficient as I encountered fewer distractions when compared to working on my Macbook Pro.
If there was anything I could change, it would be the size of my iPad. I did find Working Copy took a lot of screen real-estate, especially when having multiple windows open. The 12-inch iPad Pro looks very tempting.
Did I manage to write and submit this post directly from my iPad? Yes.
Would I do it again? Yes!


